


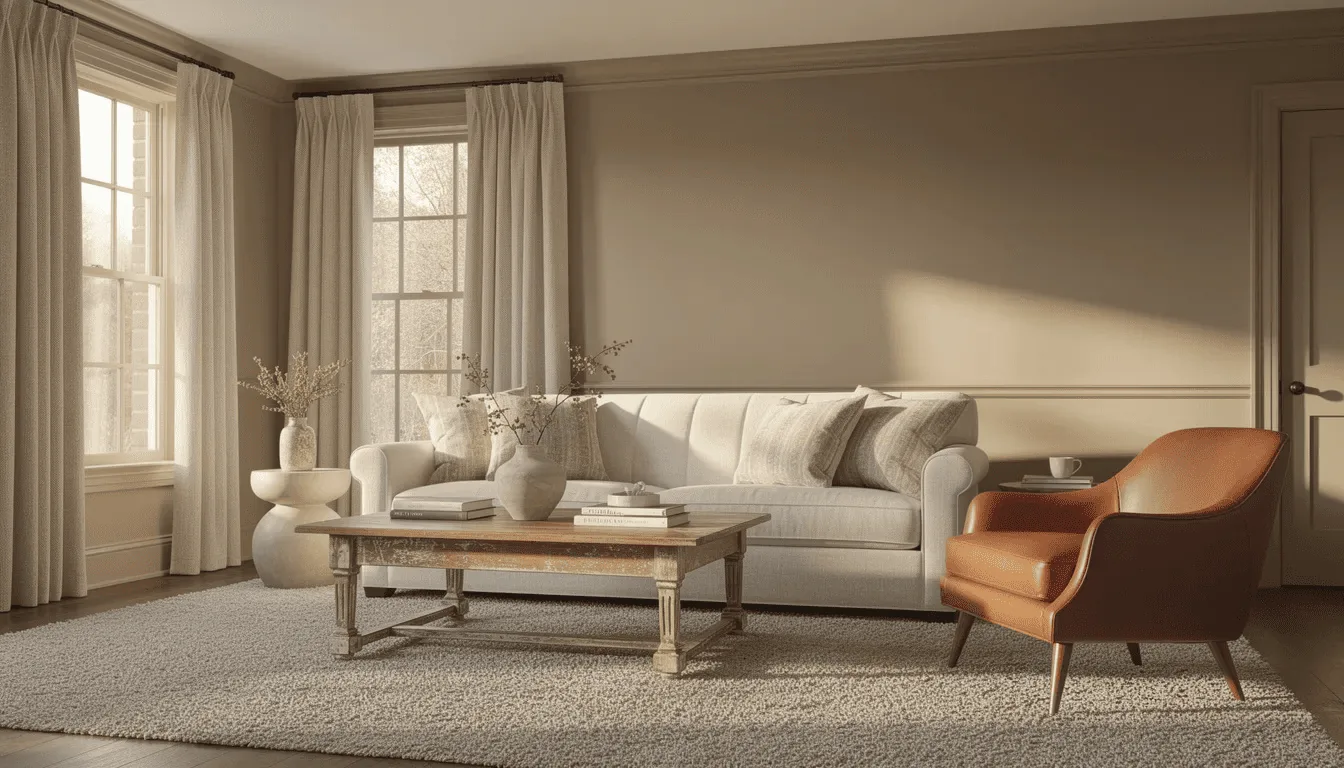
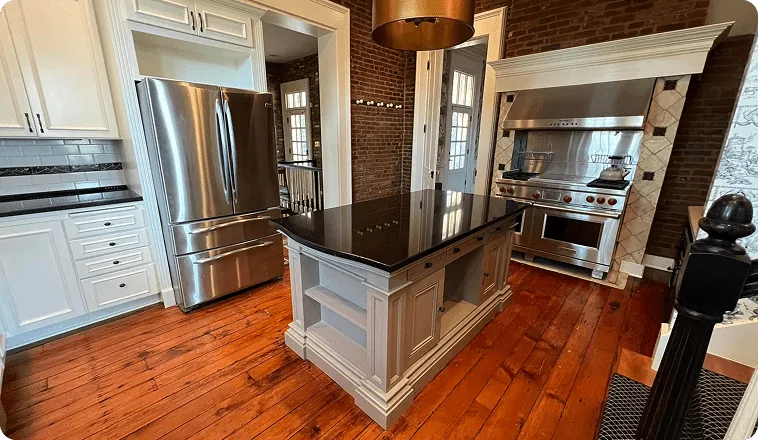
See what each stage of a professional cabinet refinish looks like, from degreasing and sanding to spraying enamel. Learn how prep work determines the final finish's durability.
A professional cabinet paint job runs in a fixed order. Doors and hardware come off, every surface is degreased and sanded, a bonding primer goes on, and enamel is sprayed in a contained setup. Most kitchens are usable again within a few days. The before-and-after difference comes from that prep, not the color. Grease and slick factory finishes make paint peel, so cleaning and scuff-sanding decide whether the new finish holds.
What does a professional cabinet paint job look like, before and after?
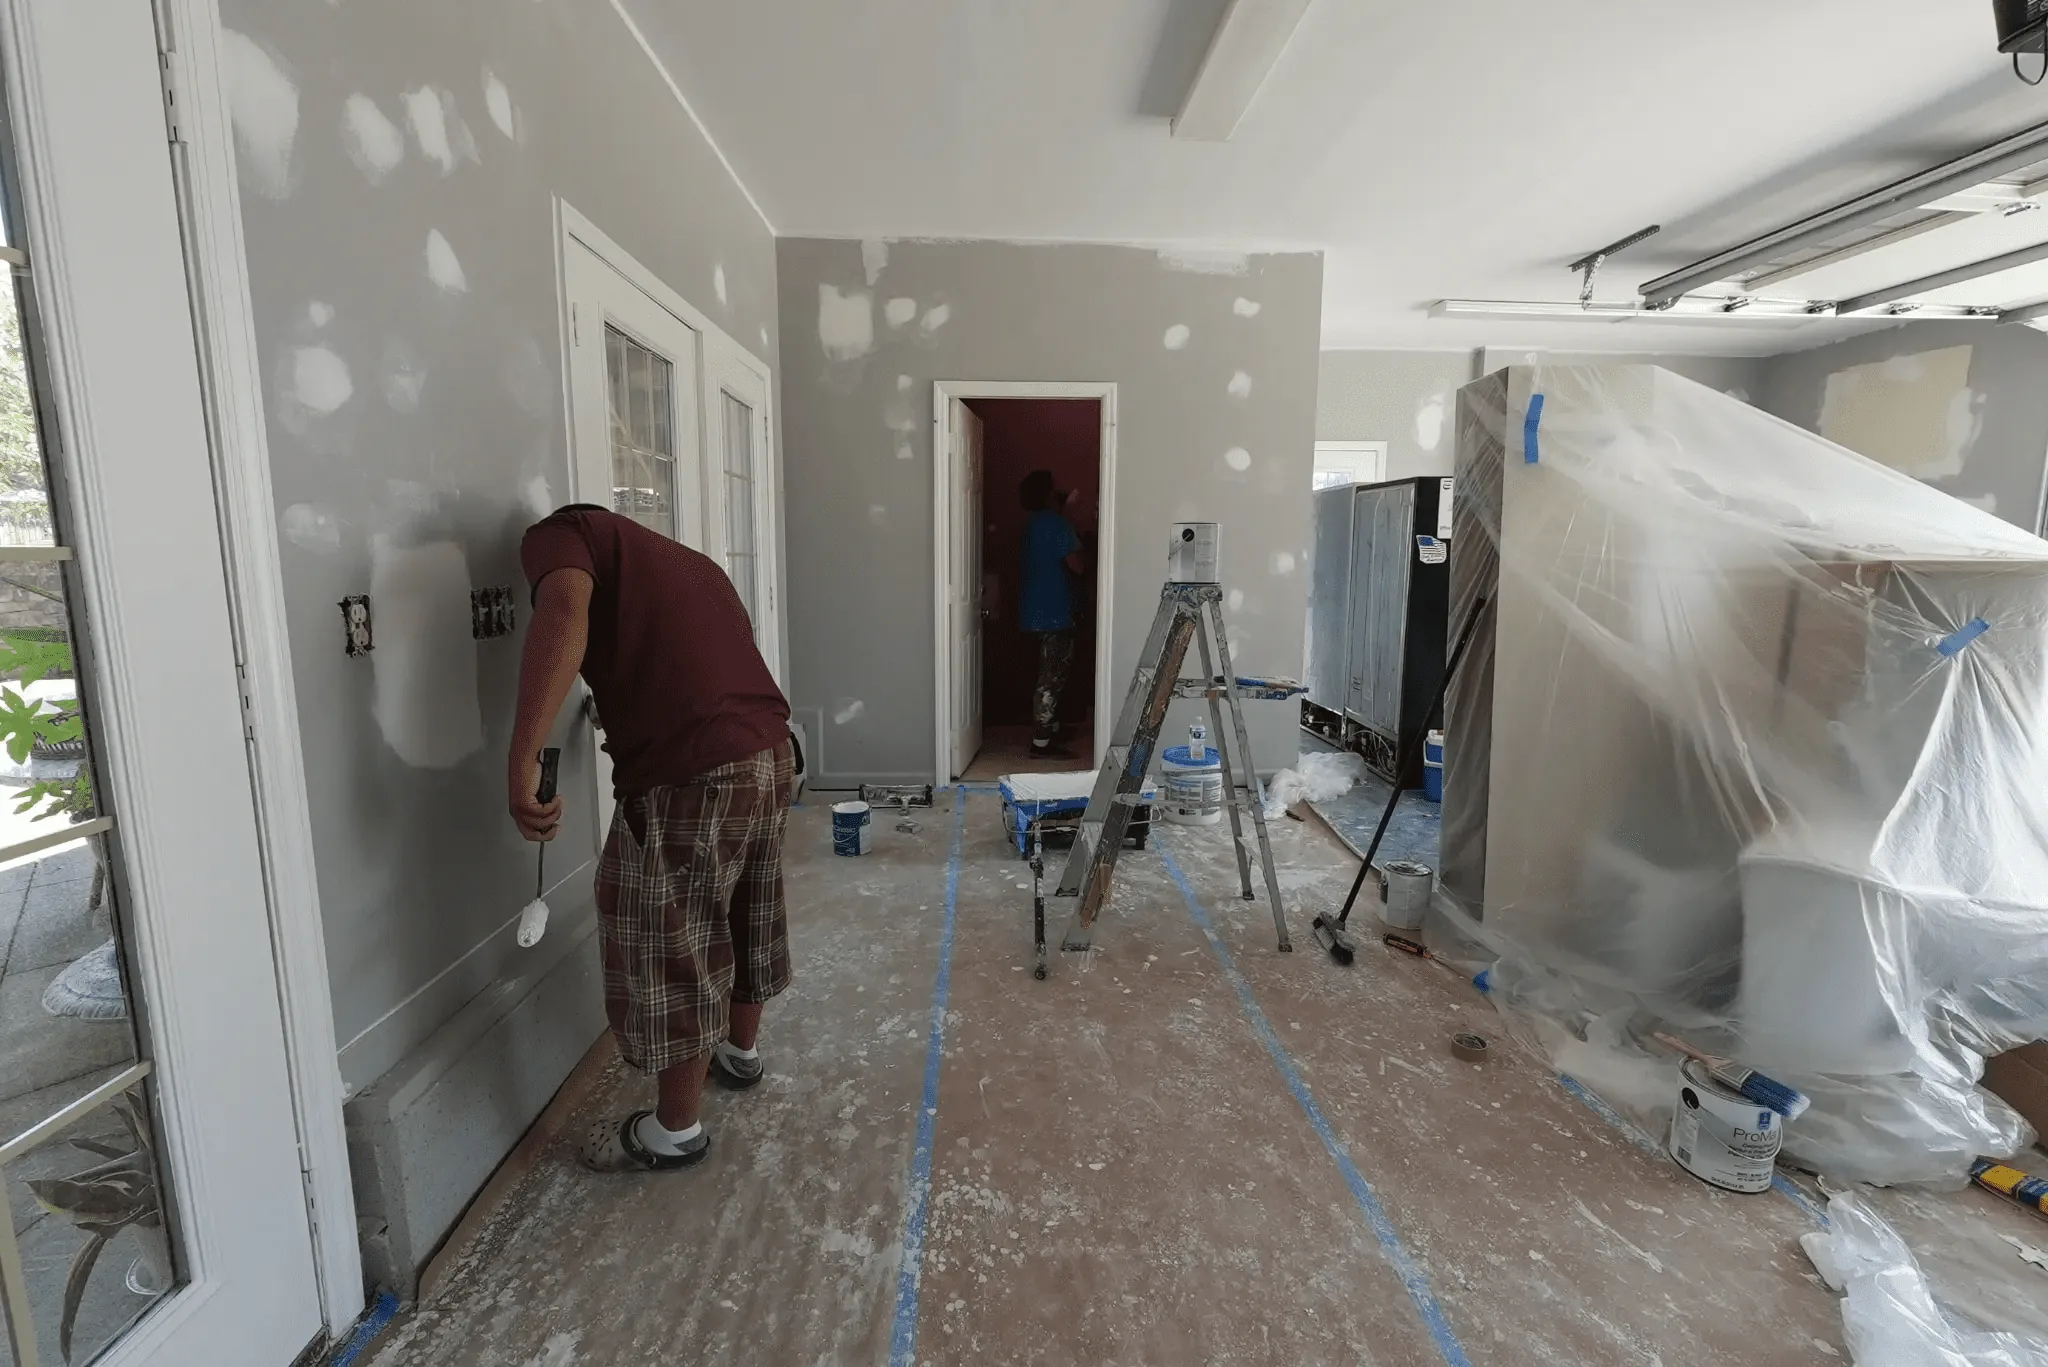
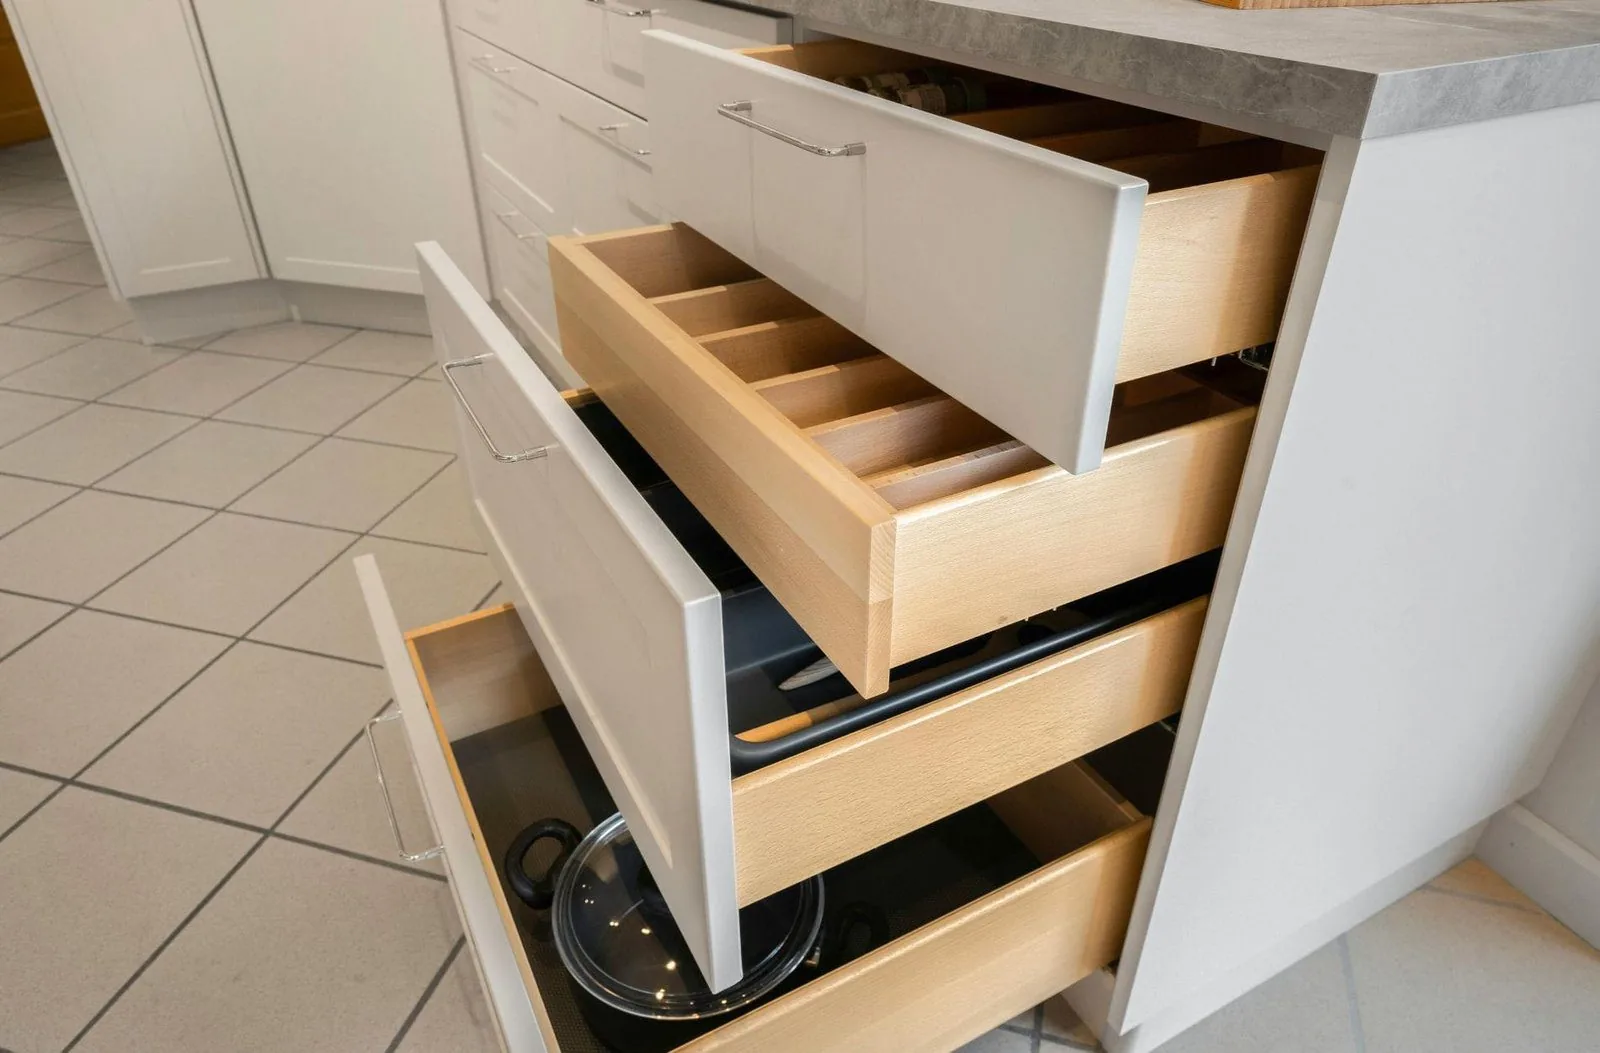
Before: doors are off the hinges, hardware is removed, and surfaces are degreased and scuff-sanded. A bonding primer covers the wood, then enamel is sprayed in a contained setup. After: you see a hard, even film with no brush marks or stipple. The result looks like factory cabinetry and wipes clean.
The transformation is not just a new color. It is the removal of years of wear and the application of a durable coating system. Sherwin-Williams notes that refinished cabinets gain a contemporary look that refreshes the kitchen. The visual change is dramatic, but the functional change is even more important. The new finish resists wear and tear over time.
What are the steps of cabinet refinishing from start to finish?
Remove and label doors, drawers, and hardware. Degrease every surface thoroughly. Scuff-sand to dull the sheen. Apply a bonding primer. Spray enamel in thin, leveled coats. Reassemble once cured.
This sequence is fixed for a reason. Benjamin Moore advises removing and labeling doors to ensure they go back on the correct cabinets. Labeling prevents confusion during reassembly. The process also requires factoring in time for sanding, prep work, and top coating. An additional day is needed for a second coat. Reassembly hours must be included in the estimate once the paint has cured.
How should cabinets be cleaned and degreased before sanding?
Wash with warm water and mild soap for light dust. Use a real degreaser or TSP substitute for stovetop grease. Rinse thoroughly and let doors air dry fully before the next step.
Grease left on cabinet doors is the single biggest reason paint jobs chip within a year. Woodworking Advisor explains that dish soap handles dust, but stovetop grease needs a stronger cleaner. TSP emulsifies grease, making it easier to remove than with soap alone. Skipping the rinse-dry-sand sequence lets paint peel at the hinges within months. The cleaning step is as critical as the painting itself.
Why does grease make paint peel, and how long should doors dry?
Primer cannot bond to grease. Any residue left behind is the top cause of peeling cabinet paint. Doors should air dry in a warm, ventilated area for a full 24 hours before sanding and priming.
Painting over cabinet doors that still hold moisture in the seams or grain is a common cause of primer failure and bubbling paint. This problem is invisible until the paint is already on. Woodworking Advisor notes that letting doors air dry for a full 24 hours prevents this issue. The drying time is not optional. It ensures the substrate is ready to accept primer and paint without trapping moisture underneath.
What sanding and bonding primer steps make paint stick?
Scuff-sand with 150- to 220-grit sandpaper to dull the slick finish. This gives the primer tooth for better adhesion. Vacuum and wipe with a tack cloth to remove all dust. Then apply a bonding primer built to grip slick surfaces.
Factory finishes and sealed wood are smooth by design. Sanding dulls that sheen so primer has something to hold. Benjamin Moore recommends using medium-grit sandpaper to sand down surfaces enough to give the primer grit. A bonding primer is not a wall primer. Cabinets get touched, wiped, and bumped far more than walls. The primer must grip slick surfaces and give the enamel a stable base.
What paint types give a durable, smooth cabinet finish?
Urethane trim enamel is the most durable choice for kitchens. Hybrid acrylic-alkyd offers good flow and non-yellowing properties. Waterborne acrylic suits lower-traffic areas.
The right paint depends on the wear your cabinets will withstand. Sherwin-Williams identifies urethane trim enamel as the best choice for the most durable results. It resists wear and tear over time and dries quickly for a fast recoat. Hybrid acrylic-alkyd paints offer excellent flow, leveling, and sag resistance. They are non-yellowing compared to other conventional alkyds. Waterborne acrylic is a good choice for cabinetry in areas with low traffic. It provides great adhesion and a smooth finish.
| Paint Type | Best For | Key Benefit |
|---|---|---|
| Urethane Trim Enamel | High-traffic kitchens | Maximum durability and scratch resistance |
| Hybrid Acrylic-Alkyd | General kitchen use | Excellent flow and non-yellowing finish |
| Waterborne Acrylic | Low-traffic areas | Smooth finish and easy cleanup |
Why spray enamel instead of brushing it on?
Spraying in a contained setup lays down a thinner, more even film than a brush or roller. This is where the smooth, factory-style look comes from. Brushing often leaves marks and stipple that are visible in the final finish.
Spraying allows for multiple light passes that cure harder and smoother than one heavy coat. Benjamin Moore advises masking and covering everything when spraying cabinets. Air filtration systems help keep the area clean. The contained setup prevents dust and foot traffic from affecting the wet paint. This control is essential for achieving a professional result that looks like new cabinetry rather than painted wood.
How long does each stage take, including drying and curing?
Paint can be dry to the touch in 4 to 6 hours. Recoating is possible around 16 hours. Full cure takes three to five days before cabinets should be loaded. Most kitchens are usable again within a few days.
Timing varies based on humidity and temperature. Benjamin Moore states that in optimal conditions, paint dries to the touch in 4 to 6 hours and can be recoated in approximately 16 hours. The optimal cure time is three to five days. Wait until cabinets have cured completely before placing anything in them. Not curing completely may damage the freshly painted surfaces. Humidity slows how quickly coatings dry between steps, so a South Florida kitchen should not be hurried through a recoat on a damp day.
What does cabinet refinishing cost, and what drives the price?
Cost depends mostly on how many doors and drawer fronts you have. It also depends on how much prep the old finish needs. A typical Fort Lauderdale range is $789 to $4,388.
The number of linear feet of cabinetry is the main driver. Larger kitchens with more doors and drawers cost more. The condition of the existing finish also matters. Cabinets that need extensive stripping or repair will have a higher price. PaintPro’s cost guide reports a typical range of $789 to $4,388 for cabinet painting in Fort Lauderdale. This range reflects variations in kitchen size and prep requirements.
How do I estimate the cost for my own kitchen?
A standard 25-linear-foot kitchen runs about $1,250 to $3,750. This is based on $50 to $150 per linear foot. An island adds roughly $450 to $950. Bigger color shifts can add coats and increase the price.
To estimate your own kitchen, measure the linear feet of cabinetry. Multiply that number by the per-linear-foot rate. For a 25-linear-foot kitchen, the calculation is $1,250 to $3,750. If your kitchen has an island, add $450 to $950 to that total. If you are going from a dark color to a light one, expect extra coats for coverage. PaintPro’s cost guide provides these figures for a standard 25-linear-foot kitchen. This worked example helps you sanity-check a quote before signing a contract.
How long will the finish last, and what protects it?
Longevity depends far more on degreasing and priming than on the paint itself. With proper prep and a catalyzed coating, a job can last ten years or more. The quality of the surface preparation is the key factor in durability.
If grease is not removed, the paint will peel regardless of the product used. If the surface is not sanded, the primer will not bond properly. These failures happen early and are costly to fix. PaintPro’s cost guide notes that ten years or more of life is possible when prep is done right and a catalyzed coating is used. The paint brand matters less than the process that prepares the wood for it.
What should I do next?
Get a written quote that lays out the scope and warranty terms. Request an estimate to see how your kitchen's size and prep fit the numbers above. Contact PaintPro South Florida to schedule a consultation and get a detailed quote for your project.