


How we refinish kitchen cabinets in Fort Lauderdale: doors off, degrease, sand, bond-prime and spray enamel, plus what drying time and humidity change.
The cabinet painting process in Fort Lauderdale runs in a fixed order: doors and hardware come off, every surface is degreased and sanded, a bond primer goes on, and enamel is sprayed in a contained setup. Each step solves a specific problem, and skipping one is what makes a finish peel. Here is how we run the job and what to check in any quote.
The Cabinet Painting Process, Step by Step
- Remove doors, drawer fronts and hardware, and keep them organized by location.
- Degrease every surface.
- Sand so the old finish is dull enough for primer to grip.
- Fill dents and surface-level flaws.
- Apply a bond primer.
- Spray enamel in a contained setup.
- Let the finish cure, then reinstall doors and hardware.
1. Doors Off, Hardware Bagged
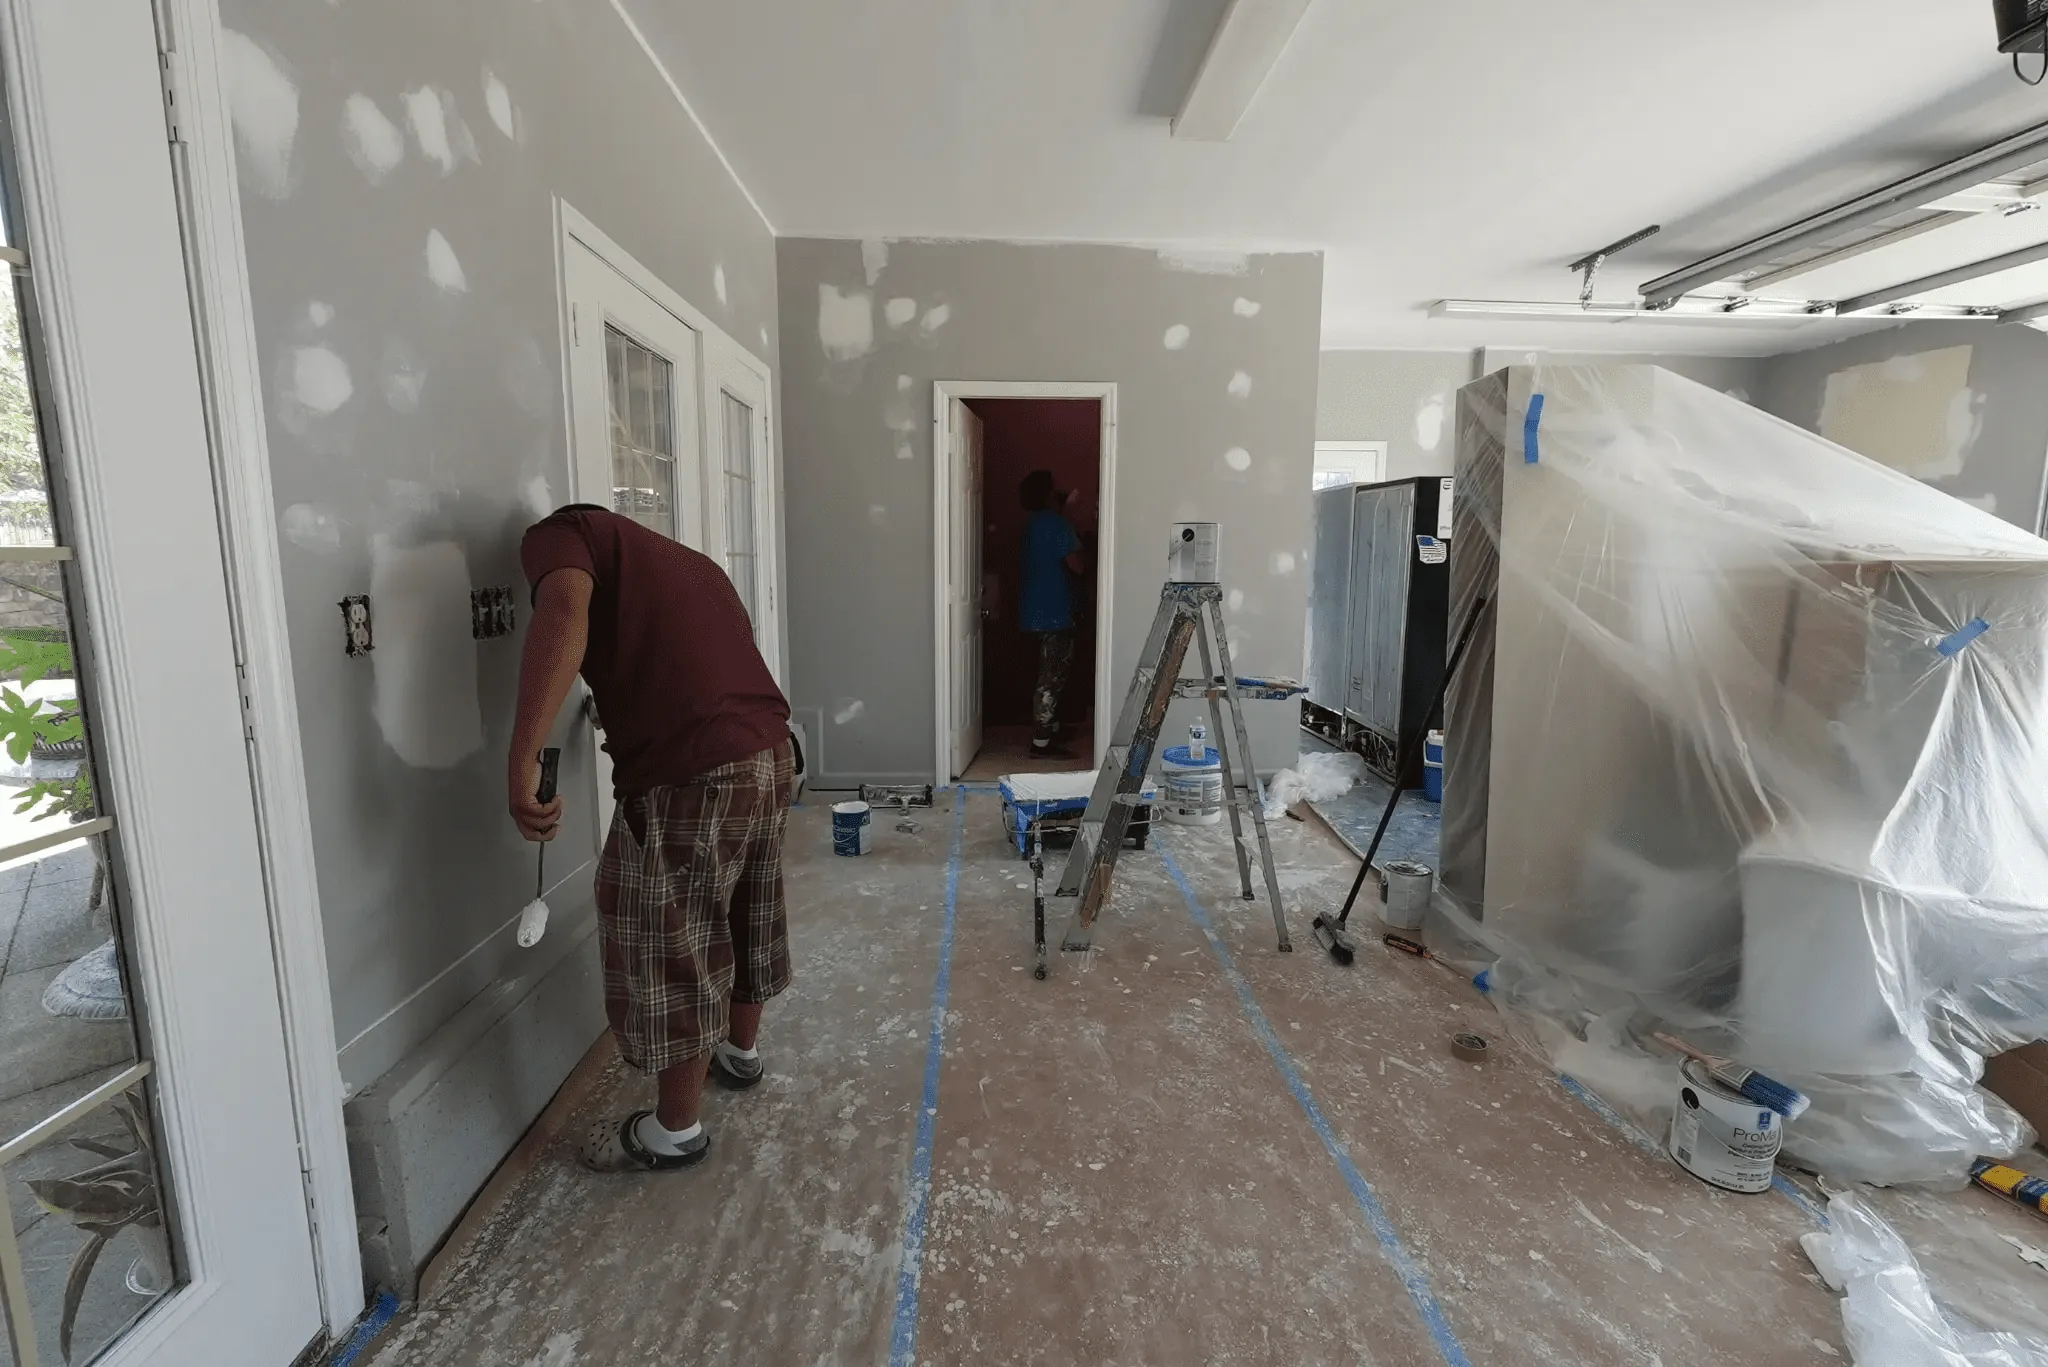
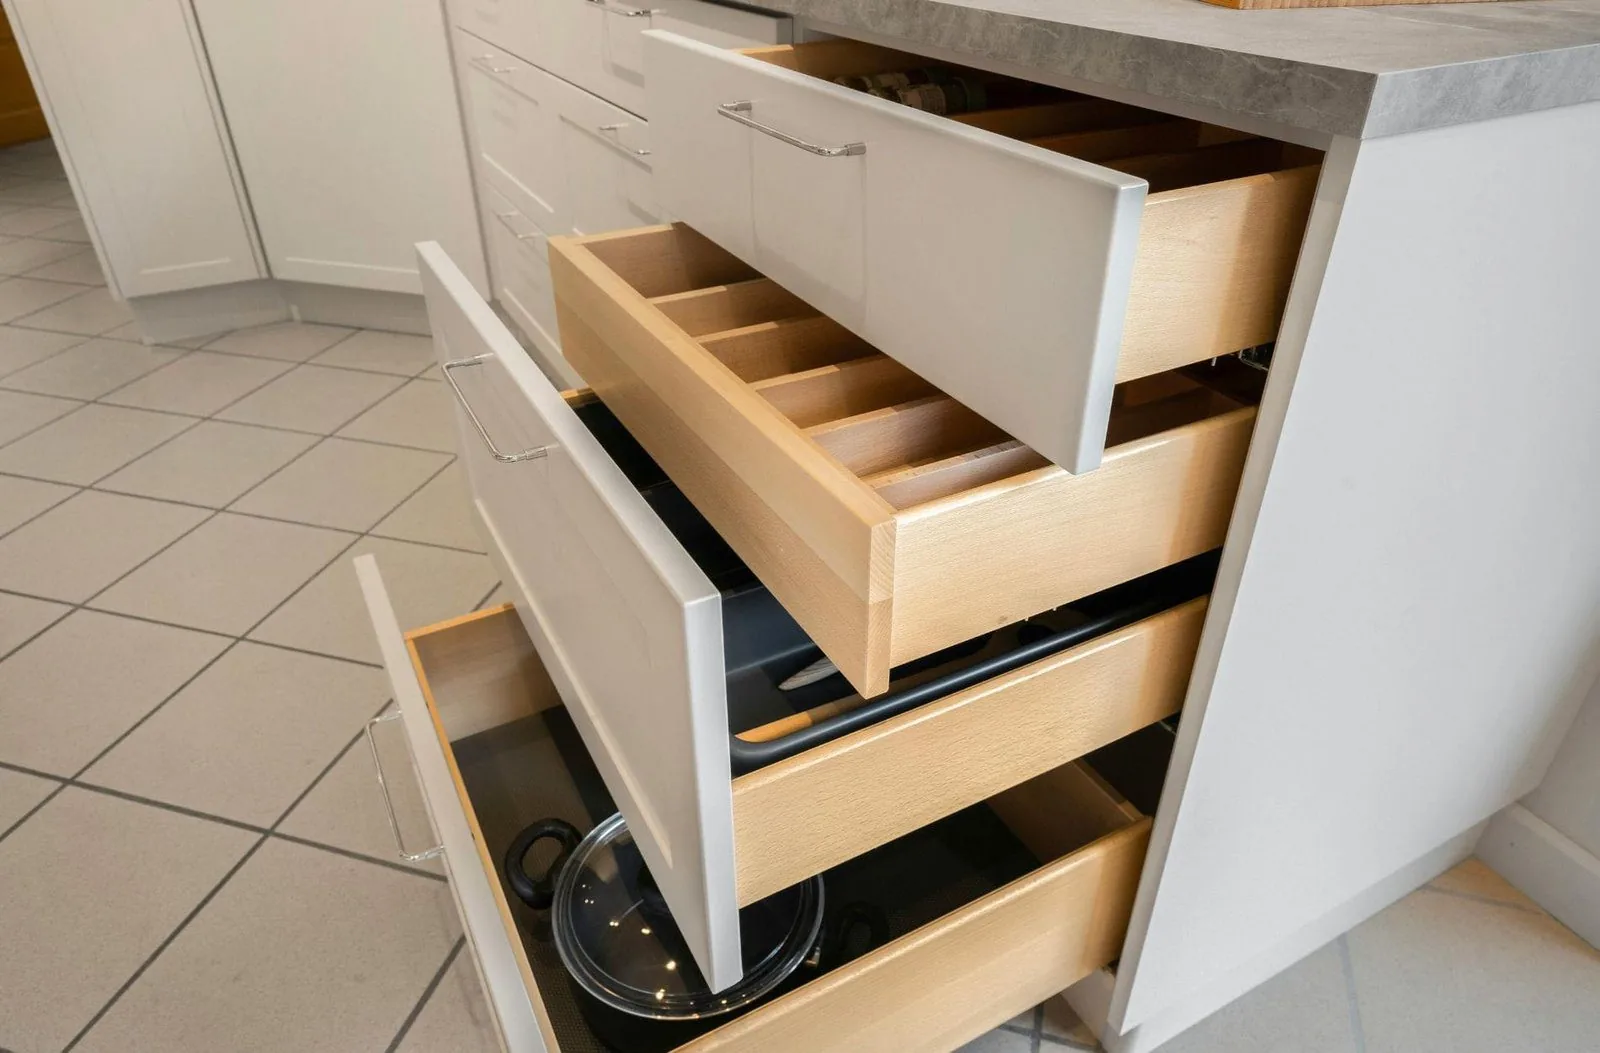
Removing doors lets each piece lie flat and take an even coat on both sides. Sherwin-Williams, in its kitchen cabinet painting steps, makes the same point: pulling doors and hardware keeps paint off hinges and handles and prevents buildup on door edges that could affect how they work. We keep hinges, pulls and screws grouped by location so the kitchen goes back together the way it came apart.
2. Degrease Before Anything Else
Cabinets near a range collect cooking grease and handprints on top of the existing finish, and primer cannot bond to grease. Sherwin-Williams recommends a cleaner degreaser for exactly this reason. Sanding first would only grind the grease into the surface, so cleaning comes before abrasion.
3. Sand and Repair
Factory finishes and sealed wood are slick by design. Sanding dulls that sheen so primer has something to hold, and it levels minor wear so the final coat does not show old damage. The guide to preparing cabinets for painting from Cabinet Painting Co calls scuff-sanding the non-negotiable step for adhesion, which matches how we treat it. Holes and dents get filled before primer.
4. Bond-Prime
A bonding primer is not a wall primer. Cabinets get touched, wiped and bumped far more than walls, so the primer has to grip slick surfaces and give the enamel a stable base. This is also the stage where stains or old wood tones that might bleed through get sealed.
5. Spray Enamel in a Contained Setup
We spray enamel rather than brush it, in a contained setup away from dust and foot traffic. Spraying lays down a thinner, more even film than a brush or roller, which is where the smooth, factory-style look comes from. Enamel is chosen because it stands up to hands, dishes and cleaning.
How Long Each Step Needs to Dry
Dry times are where cabinet jobs get rushed, and published guidance varies by product. The figures below come from the named sources and apply to the products and methods those sources describe, not to a promised schedule for your kitchen.
| Stage | What the source says | Source |
|---|---|---|
| Primer before sanding again | Let it dry for at least 1 hour in a well-ventilated area | Benjamin Moore |
| Finished cabinets | Dry in a well-ventilated area for at least 24 hours at minimum | Benjamin Moore |
| Primer before the next sanding | Let it dry for at least 24 hours | Sherwin-Williams |
| Between paint coats | About 24-48 hours before the second coat | Sherwin-Williams |
| Water-based finishes between coats | Roughly 2 to 4 hours | Cabinetsrefinishing |
| Oil-based or alkyd between coats | 8 to 16 hours | Cabinetsrefinishing |
The spread is wide because water-based and oil-based products cure differently, and because a shop spraying thin coats works differently from a homeowner brushing. For our own timing, see our post on how long cabinet refinishing takes in Fort Lauderdale. Most kitchens are usable again within a few days.
What Fort Lauderdale Changes About the Process
Humidity slows how quickly coatings dry between steps, so a South Florida kitchen should not be hurried through a recoat on a damp day. A contained spray setup helps in another way: it keeps dust and airborne debris off wet enamel. Kitchens here also see heavy daily use, which is why the primer and enamel choice matters more than the color chip.
The paint we use is Sherwin-Williams premium paint, and the job is backed by a written 2-year warranty on labor and materials. Ask any painter to put warranty terms in writing before work starts.
Brushing, Rolling or Spraying: What Each Gives You
| Method | Strength | Trade-off |
|---|---|---|
| Brush and roller | Low equipment cost, easy for a DIY project | Visible brush or roller texture is harder to avoid on flat door panels |
| Sprayed enamel | Thin, even film and a smooth finish | Needs masking and a contained area to control overspray and dust |
A sprayer is not magic. The Topkote guide to kitchen cabinet painting in six steps describes spraying primer and paint with an HVLP sprayer, and the same guide notes that masking the surrounding area takes the longest. Spraying only pays off when prep and containment are done properly.
Questions to Ask Before You Hire a Cabinet Painter
If you are still deciding whether to paint at all, compare it with cabinet painting versus refacing. For what moves the price, read about cabinet painting cost in Fort Lauderdale. We give a free estimate and an itemized quote with no hidden fees, and financing through Wisetack is an option qualified applicants can apply for.
FAQ
Do cabinet doors have to come off to be painted?
Yes, for a proper refinish. Flat doors take an even coat on both sides, and hinges and edges stay free of paint buildup.
Is sanding really necessary if the primer is strong?
Sherwin-Williams says its Extreme Bond Primer's adhesion means sanding may not be necessary for most clean, paintable surfaces, and it suggests a test patch in an inconspicuous spot first. We still sand, because it also levels wear, and a bond primer is only as good as the clean surface under it.
Can painting hide stains or old wood tones?
Sanding and bond-priming are where those get dealt with, so enamel goes over a sealed, consistent surface instead of trying to cover a problem with color.
Why does the order of the steps matter?
Each step prepares the next: grease blocks primer, primer anchors enamel, and enamel only looks smooth over a sanded base. Cleaning first, because primer cannot grip grease, is the step most likely to decide whether a finish lasts.
Related resources
- How Long Does Cabinet Refinishing Take? Doors Off, Bond-Prime, Sprayed Enamel
- Cabinet Painting vs Refacing in Fort Lauderdale Kitchens
- Cabinet Painting Cost in Fort Lauderdale: What Drives the Price of a Refinish
- Cabinet Painting Fort Lauderdale
- Apartment Repaint in Fort Lauderdale: Commercial Painting Plan
- Commercial Exterior Painting in Fort Lauderdale: Scope and Prep