

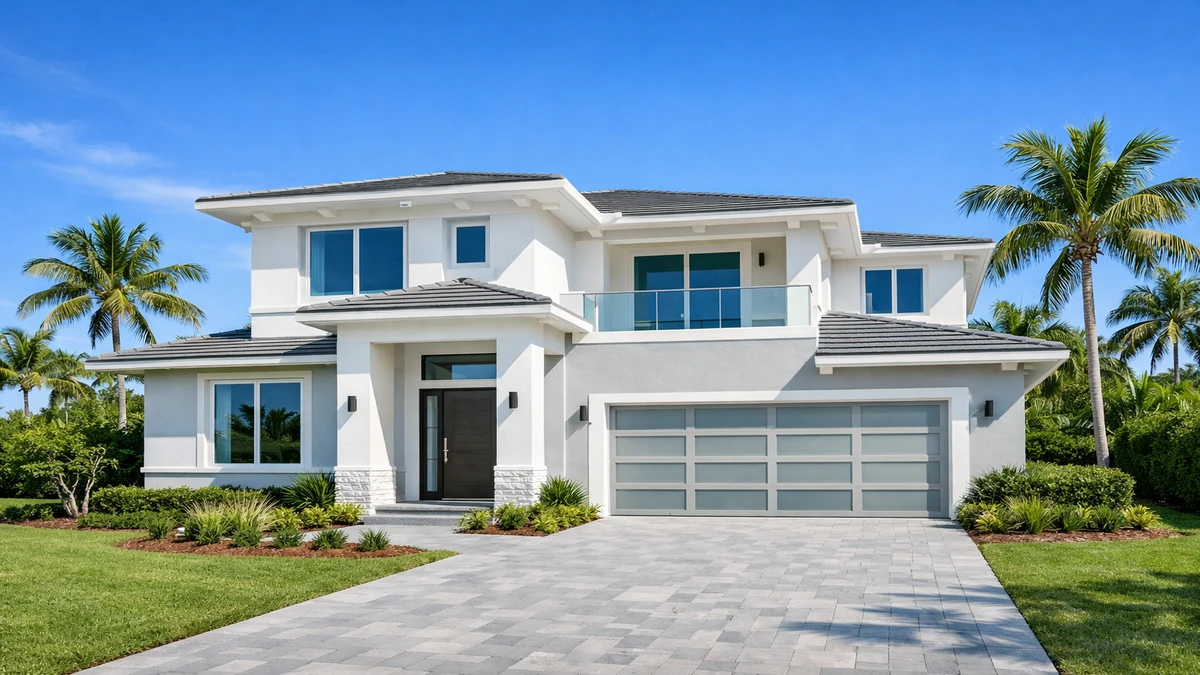


Your front door creates the first impression of your home. A fresh coat of paint transforms curb appeal instantly, making this one of the highest-return DIY projects you can tackle. However, painting a front door properly requires specific techniques, the right materials, and patience—especially in South Florida’s challenging climate.
This comprehensive guide covers everything you need to know about how to paint front door surfaces, from choosing the best paint to applying flawless coats that withstand intense sun, humidity, and salt air.
Why Front Door Painting Matters
Front doors face more punishment than any other painted surface on your home. Direct sunlight beats down for hours daily, Florida’s humidity tests paint adhesion, occasional rain and salt air accelerate wear, and the constant opening and closing flexes the surface.
Despite these challenges, a properly painted front door should last 5-7 years before requiring a refresh. The key is using quality exterior paint designed for doors and following proper preparation and application techniques.
Should You Remove Your Door for Painting?
One of the first decisions is whether to paint your door in place or remove it. Both approaches work—the best choice depends on your specific situation.
How to Paint a Front Door Without Removing It
Painting in place offers convenience. You avoid the hassle of removing hardware, lifting a heavy door, and finding space to work. This approach works best for:
- Single color applications
- Touching up existing paint in good condition
- Situations where door removal is impractical
- Quick refresh projects
The challenge of painting in place is working around hinges, avoiding drips on the threshold, and achieving even coverage without laying the door flat. Vertical painting requires lighter coats to prevent runs and careful brush work.
Benefits of Removing the Door
Taking down the door allows laying it horizontally on sawhorses, which provides these advantages:
- Even paint flow without drips
- Easy access to all surfaces including edges
- Ability to paint both sides in one project
- Better finish quality
- Painting hardware off separately for complete coverage
Professional painters typically remove exterior doors for painting. The extra effort produces noticeably better results. If you remove the door, protect the exposed opening with plastic sheeting during drying time.
Choosing the Best Paint for Front Doors
Paint selection matters enormously for exterior door projects. The right paint resists fading, stands up to weather, and maintains appearance for years.
Exterior Paint vs. Interior Paint
Only use paint formulated for exterior use on your front door. Exterior paint contains additives that resist UV damage, prevent mildew, and withstand temperature fluctuations. Interior paint fails quickly on exterior surfaces.
Quality exterior paint costs more but proves economical long-term. Premium brands like Benjamin Moore, Sherwin-Williams, and Behr offer door-specific formulations engineered for the demanding application.
Finish Selection: Gloss Levels
Front door finish should be semi-gloss or high-gloss. Glossier finishes provide better protection and clean more easily than flat or satin finishes. They also create a nice contrast against flat-finished siding or walls.
Semi gloss finish strikes the perfect balance—enough sheen for durability and easy cleaning without the mirror-like reflection of full gloss. Many homeowners prefer this compromise.
Satin finish works for interior doors but doesn’t provide adequate protection for exterior exposure. Save matte and flat finishes for walls and siding, not doors.
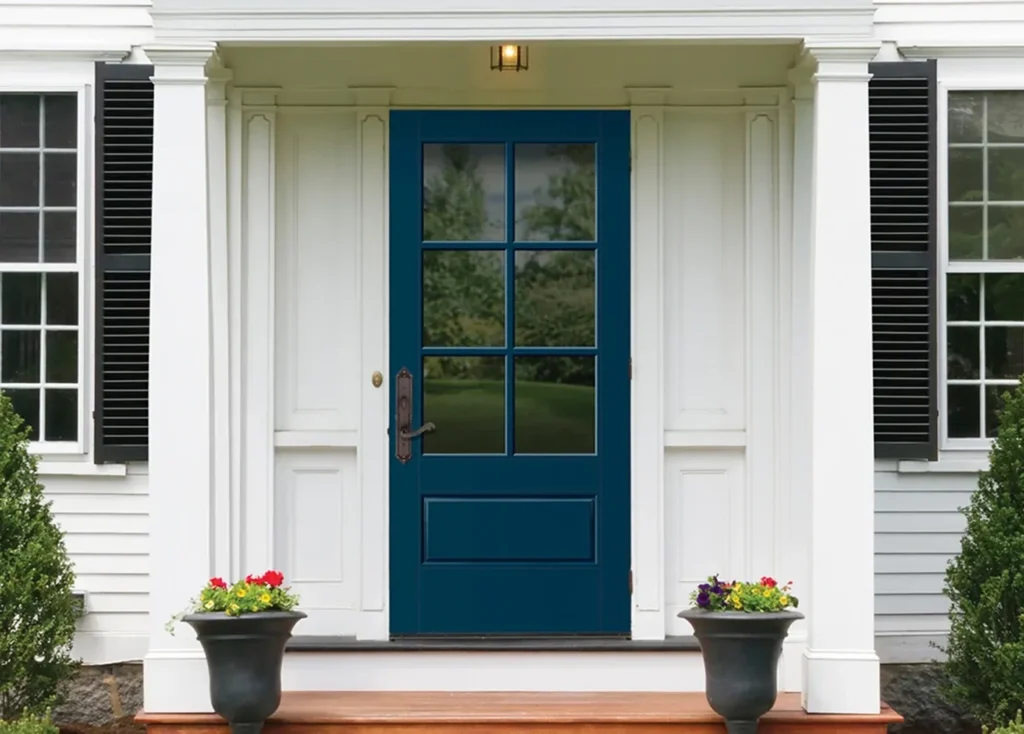
Color Considerations
Your front door paint color makes a statement. While practical considerations matter—dark colors absorb more heat and may fade faster—personal preference should guide your choice.
Popular front door colors in South Florida:
- Classic black or navy blue (timeless, bold)
- Bright red (welcoming, traditional)
- Soft turquoise or teal (coastal vibe)
- Rich wood tones (natural appearance)
- Same color as house trim (cohesive look)
Test your paint color choice before committing. Paint a large board or poster board and place it near your door. View it at different times of day—morning light, afternoon sun, and evening. Colors appear dramatically different under varying conditions.
If changing from a dark color to light (or vice versa), plan for tinted primer that blocks the old color from showing through.
Essential Tools and Materials
Gather everything before starting. Running to the paint store mid-project while wet paint dries wastes time and creates frustration.
What You’ll Need
For Surface Prep:
- Degreaser or TSP substitute
- Sandpaper (120-220 grit)
- Putty knife
- Wood filler
- Painter’s tape
- Drop cloth
- Clean rags
For Painting:
- Quality exterior paint (1 quart covers most doors twice)
- Exterior primer (if needed)
- Angled brush (2-3 inches)
- Small foam roller (optional, for flat panels)
- Paint tray
- Stir stick
- Plastic sheeting
For Hardware:
- Screwdriver set
- Plastic bags and tape (for hardware storage)
- Newspaper (for protecting knobs if painting in place)
A paint sprayer can produce beautiful results but requires significant masking and practice. For a single door, brush and roller application proves more practical for most homeowners.
Step-by-Step: How to Paint Front Door
Follow this proven process for professional-quality results.
Step 1: Remove or Protect Hardware
Hardware removal is highly recommended. Door knobs, locks, and decorative hardware come off with basic tools. Place all screws and small pieces in labeled plastic bags so you can reinstall correctly.
If removal isn’t possible, wrap hardware carefully with painter’s tape and plastic sheeting. However, paint edges around hardware never look as clean as fully removed hardware.
Remove the door’s hinges only if painting the door off its frame. Otherwise, tape and cover hinges that remain attached.
Step 2: Clean Thoroughly
A clean surface is essential for paint adhesion. Front doors accumulate surprising amounts of dirt, grease from hands, salt deposits (near the coast), and environmental grime.
Wash the entire door with a degreaser or TSP substitute. Pay special attention to the area around the door knob where hand oils concentrate. Rinse thoroughly and let the door dry completely—run a fan if needed to speed drying in humid conditions.
Step 3: Repair and Sand
Inspect the door for damage. Fill any cracks, dents, or nail holes with exterior wood filler. Let repairs dry completely, then sand smooth using 120-grit sandpaper.
Even if your door has no damage, light sanding helps paint adhere. Lightly sand the entire door surface with 220-grit sandpaper—not enough to remove existing paint, just enough to dull the surface and provide tooth for new paint.
For doors with peeling paint, scrape all loose paint away first. Feather the edges of remaining paint by sanding so the transition isn’t visible. Spot-prime any bare wood areas before painting the full surface.
After sanding, wipe the door down with a damp cloth to remove all dust. Let it dry completely.
Step 4: Tape and Protect
Apply painter’s tape carefully:
- Around the door frame where it meets the door edge
- Over any hardware you couldn’t remove
- Along glass panels if your door has windows
- On the threshold to protect it from drips
Lay a drop cloth below the door. For painting in place, tape plastic sheeting over the door opening interior side to prevent paint smell from entering the house.
Step 5: Prime (If Needed)
Apply primer if:
- You’re painting bare wood
- The door was previously painted with oil-based paint and you’re using latex
- You’re making a dramatic color change
- The existing paint is stained or damaged
Exterior primer specifically formulated for doors provides the best base. Apply one coat using a brush for detailed areas and panels, a foam roller for large flat areas. Follow the wood grain pattern.
Let primer dry completely per manufacturer instructions—typically 4-6 hours minimum, longer in high humidity. South Florida conditions often mean waiting overnight for full drying.
Step 6: Apply First Coat of Paint
Start with recessed panels and detailed areas using your angled brush. Work methodically:
- Paint any recessed or raised panels first
- Paint horizontal rails (the crosspieces)
- Paint vertical stiles (the sides)
- Paint the edges last
Load your brush moderately—too much paint causes drips, too little creates brush marks. Apply paint smoothly, following the wood grain. Work in manageable sections, maintaining a wet edge to avoid lap marks.
For flat door surfaces, a small foam roller covers quickly and minimizes brush marks. Roll first, then lightly brush over the rolled area following grain direction for smooth finish.
If painting the door in place, work top to bottom to catch any drips as you go. Start early in the day so the first coat has maximum drying time before evening humidity increases.
Step 7: Let First Coat Dry Completely
This step tests patience but cannot be rushed. Paint must dry fully before the second coat—touching dry doesn’t mean ready.
Latex exterior paint typically needs 4-6 hours in ideal conditions. South Florida’s humidity extends this to 8-12 hours minimum. Overnight drying works best—paint one day, second coat the next morning.
Avoid painting if rain is forecast within 24 hours. Check the weather forecast carefully before starting.
Step 8: Light Sanding Between Coats
Lightly sand the dried first coat with 220-grit sandpaper. This removes any drips or imperfections and provides tooth for excellent second coat adhesion. Wipe clean with a tack cloth.
Step 9: Apply Second Coat
The second coat should go on smoothly since you’re painting over sealed surface. Follow the same pattern as the first coat—panels, horizontals, verticals, edges.
Pay attention to coverage. The second coat should complete the color transformation and provide protection. Don’t skimp on this coat thinking the first coat is “good enough.” The second coat provides most of the durability.
Step 10: Final Drying and Reinstallation
Let the second coat dry 24 hours before handling the door. In humid conditions, wait 48 hours. Even when paint feels dry, it remains vulnerable to damage during early curing.
If you removed the door, wait 48 hours before rehanging and reinstalling hardware. This prevents marking the fresh paint during installation.
Remove painter’s tape carefully once paint is dry to touch but before it fully cures—this prevents paint peeling with the tape.
Special Considerations for South Florida
Our climate creates unique challenges for exterior painting.
Dealing with Humidity
High humidity extends drying times significantly. Paint that should dry in 4 hours may take 8-12 hours. Plan accordingly and don’t rush.
Consider painting during fall or winter months when humidity stays lower. If painting in summer, start very early morning for maximum drying time before afternoon humidity rises.
Sun and Heat
Direct sunlight heats door surfaces intensely, especially dark colors. Hot surfaces cause paint to dry too quickly, preventing proper bonding. Paint early morning before sun hits your door directly.
Position a temporary shade if needed—a large umbrella or tarp hung from above can protect the surface during application and early drying.
Salt Air Near the Coast
Coastal homes face accelerated paint deterioration from salt air. Use marine-grade exterior paint if within a mile of the ocean. These formulations resist salt damage better than standard exterior paint.
Clean your door annually with gentle washing to remove salt accumulation that degrades paint over time.
Mildew Concerns
Florida’s humidity encourages mildew growth. Look for exterior paint with mildewcide additives. If your door shows any mildew before painting, kill it with a bleach solution (1:3 bleach to water) before cleaning and painting.
Advanced Techniques
For homeowners wanting professional-grade results, these techniques make a difference.
Spray Painting Your Front Door
A paint sprayer produces the smoothest finish possible, eliminating brush marks entirely. However, spraying requires:
- Significant practice to master
- Extensive masking of surrounding areas
- Proper safety equipment (respirator)
- Ideal weather conditions (no wind)
Most DIYers achieve better results with careful brush application than amateur spray work. If you’re determined to spray, practice on scrap wood first.
Creating Faux Wood Grain
For plain doors, graining techniques using specialized tools can create convincing wood appearance. This advanced decorative painting requires artistic skill but transforms a basic door into a custom feature.
Two-Tone Front Doors
Painting the door one color and the frame or trim another color adds visual interest. This requires careful taping and patience but creates striking results. Many South Florida homes feature bright door colors against white or neutral trim for coastal cottage appeal.
Common Front Door Painting Mistakes
Avoid these errors that compromise results:
Skipping Prep Work
The most common mistake—rushing into painting without proper cleaning, sanding, and priming—guarantees poor results. Prep work takes half the total project time but determines final quality.
Using Interior Paint
Interior paint fails quickly on exterior doors. The investment in proper exterior door paint pays back in longevity and appearance.
Painting in Wrong Conditions
Don’t paint when:
- Temperature is below 50°F or above 90°F
- Humidity exceeds 85%
- Rain is forecast within 24 hours
- Wind exceeds 10 mph (spreads paint spray, carries debris)
Applying Thick Coats
Thick paint seems like it should cover better, but it drips and dries unevenly. Multiple thin coats produce far superior results.
Not Removing Hardware
Painting around hardware looks amateur. Take the extra 15 minutes to remove knobs and locks for professional appearance.
Maintaining Your Painted Front Door
Extend the life of your paint job with simple maintenance.
Annual Cleaning
Wash your door once yearly with mild soap and water. This removes dirt and pollutants before they degrade paint. Rinse thoroughly and let dry.
Touch-Up as Needed
Keep leftover paint for touch-ups. Small chips and scratches happen—touching them up immediately prevents moisture damage and extends the overall paint job life.
Inspection
Check your door annually for paint failure signs:
- Peeling or bubbling
- Cracking
- Fading
- Mildew growth
Addressing problems early prevents complete repainting.
When to Call Professional Painters
While painting a front door is a manageable DIY project, some situations warrant professional help.
Complex Door Designs
Doors with intricate molding, multiple panels, or custom designs require skill to paint properly. Professionals have the experience to handle details that frustrate homeowners.
Time Constraints
If you need the project completed quickly or can’t dedicate two full days (plus drying time), hiring professionals ensures timely completion without rushing.
Whole-House Exterior Painting
If you’re painting your entire home exterior, having professionals handle everything—including the front door—creates consistent, warrantied results. Paint Pro South Florida offers comprehensive exterior painting services throughout Broward and Palm Beach Counties.
Our experienced teams complete door painting as part of larger projects or as standalone services. We use premium Benjamin Moore and Sherwin-Williams products, proper surface preparation techniques, and application methods proven to withstand South Florida’s demanding climate.
We serve communities including Sunrise, Hollywood, and throughout the region with professional results backed by warranty.
Conclusion: Transform Your Entryway
A freshly painted front door completely transforms your home’s curb appeal. The project requires patience and attention to detail but delivers impressive results that welcome visitors and boost property value.
The key steps—thorough preparation, quality materials, proper technique, and adequate drying time—separate good results from great results. In South Florida’s challenging climate, extra attention to weather timing and humidity impacts make the difference between a paint job that lasts years and one that fails within months.
Whether you tackle the project yourself or hire professionals, investing in your front door pays immediate dividends in appearance and long-term protection of your home’s entrance.
Ready to transform your front door or entire home exterior? Contact Paint Pro South Florida for a free estimate. Our professional painters deliver quality results with premium materials and expert craftsmanship backed by warranty.